How to deploy web applications to Netlify

Frontend Engineer who loves building tools.
Netlify is a really powerful platform that not only allows you to host your frontend applications but also leverage the power of the JAMStack by utilising its other features like the serverless functions, analytics, and form processing.
Hosting on Netlify is so easy that you can literally drag and drop the folder containing your site and it would be deployed immediately. Although this technique only works for static sites, If you wanted to deploy web apps built with frontend frameworks this way, you would have to run the build command locally first, then drop the built directory on to Netlify.
How to host frontend web apps on Netlify
- Click "New site from Git".
- Select your Git provider.
- Enter your build settings.
- Click Deploy site.
Assuming you've already created an account on [netlify.com](https://netlify.com "Netlify.com"), on your dashboard, click "New site from Git".
You should be taken to another page where you get to choose which Git provider you want to use (this should be where the source code exists). Authentication would be required after selecting the provider and you should now see a list of all your repositories after that.
After selecting the repository you intend to deploy from, you'd be shown a page where you add your build settings:
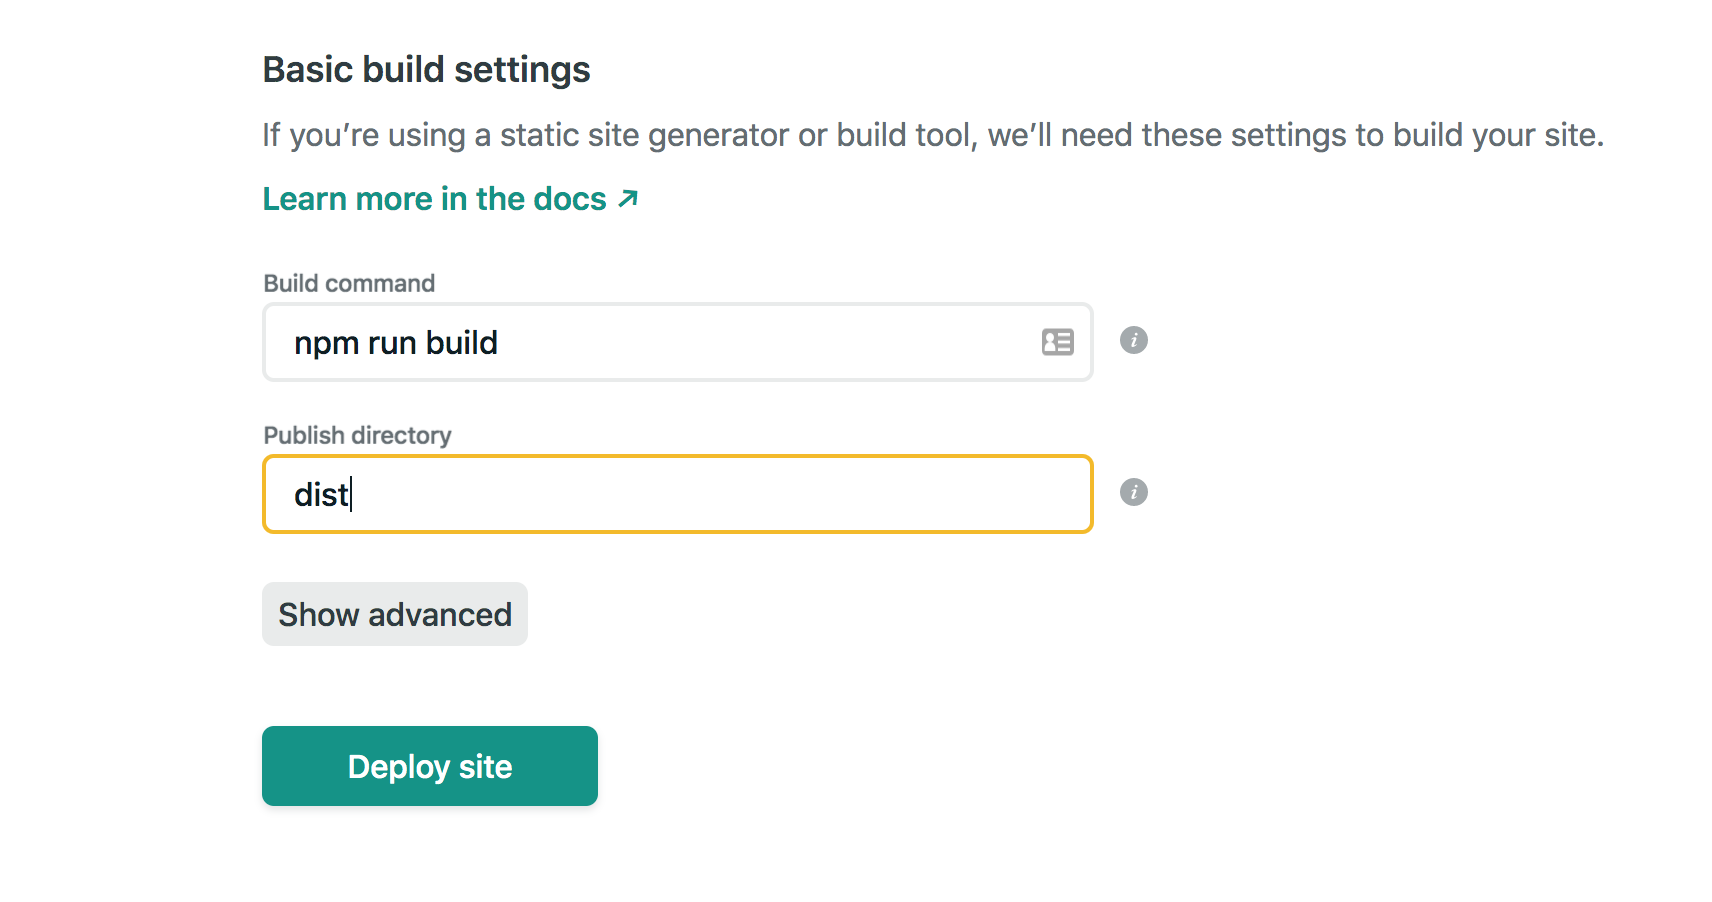
When setting your build command, be sure to enter the full command as well as the correct publish directory. I am currently deploying a Vue app, so the full command to build the app is npm run build, while the directory that the built files are placed is dist which happens to be in the project's root. Other frameworks might have different build commands or publish directory so be sure to enter the correct ones else the deployment will fail.
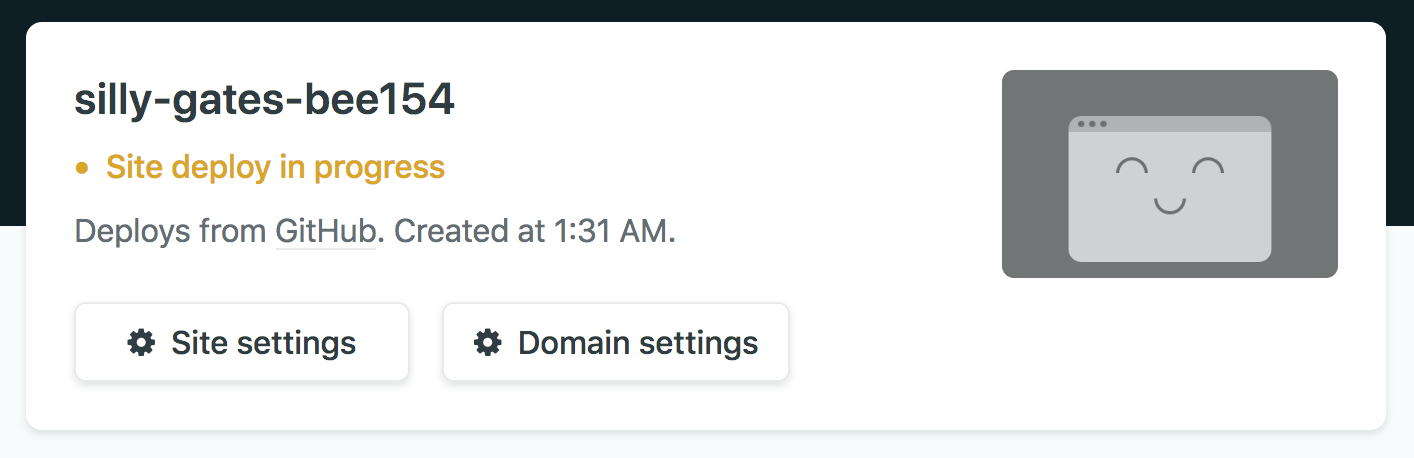
Click deploy when finished and you should see your site build with a randomly generated URL for previews.
You can also set up a custom domain name if you wish, [here's a guide to set up a custom domain on Netlify.](https://docs.netlify.com/domains-https/custom-domains/#definitions "How to setup custom domains on Netlify")