How to trigger a Netlify build using Storyblok webhooks
Frontend Engineer who loves building tools.
Build hooks are unique URLs used to trigger a build on the Netlify. They can be used to refresh the content on your website after you’ve published or unpublished content in your Storyblok space.
Getting the hook URL from Netlify
To create one, open your site’s dashboard on Netlify and navigate to the settings section:
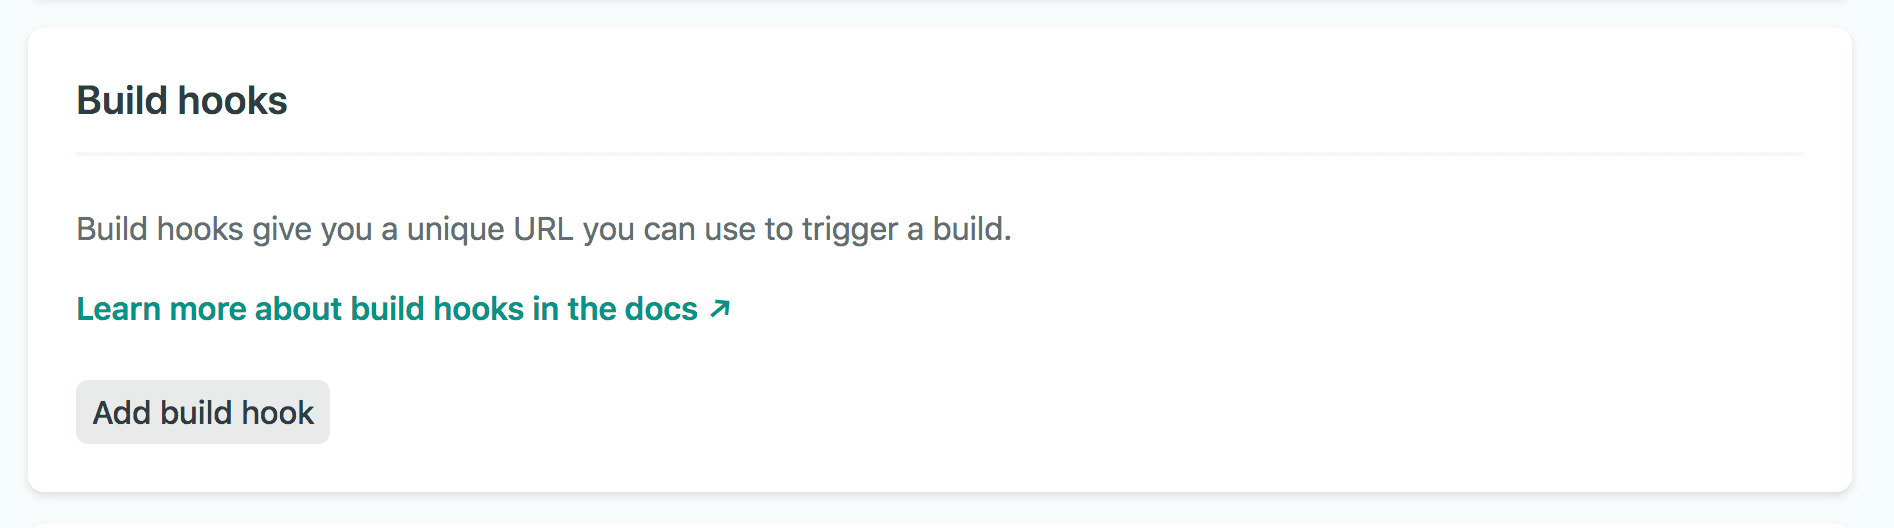
Under Settings > Build & deploy > Continuous deployment > Build hooks.
 Click Add build hook to create a new hook. The hook name is for you to identify that hook, select a branch to build when a deploy is triggered.
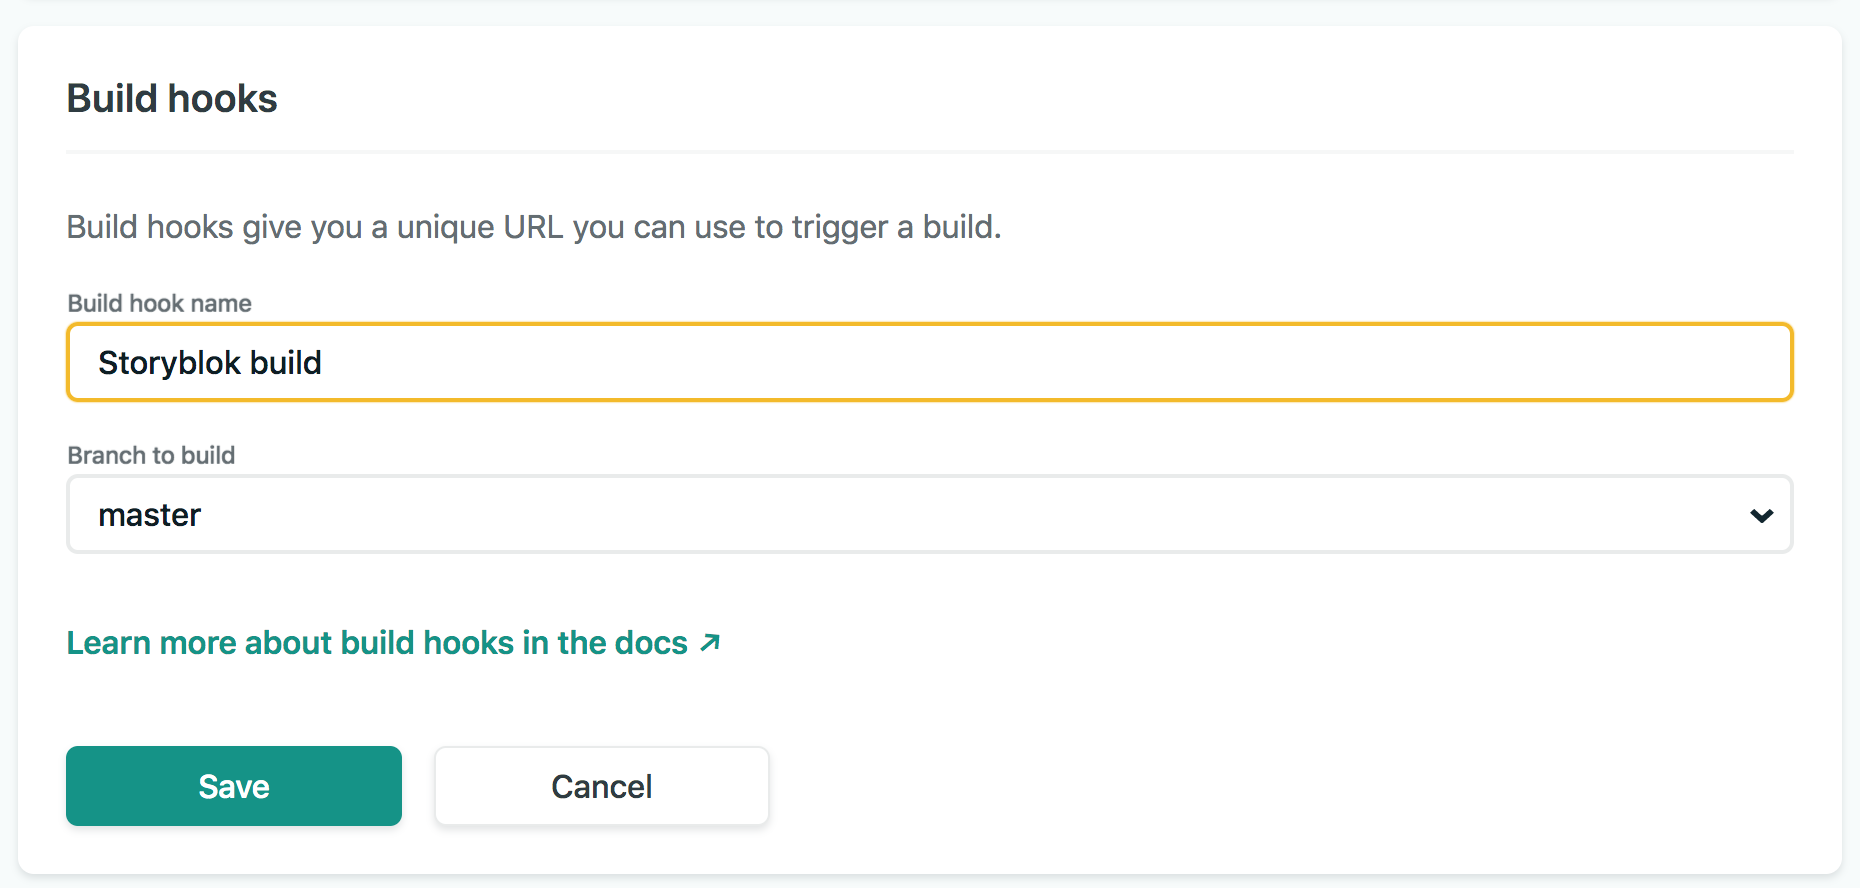 After clicking Save, you’ll get a URL which you need to send
 POST requests to in order to trigger a build.
The URLs typically look like this:
[https://api.netlify.com/build_hooks/XXXXXXXXXXXXXXX](https://api.netlify.com/build_hooks/XXXXXXXXXXXXXXX "https://api.netlify.com/build_hooks/XXXXXXXXXXXXXXX")
You can also add parameters to the URL to change the default trigger branch and trigger message. To know more, check out the official documentation.
Setting the hook URL on your Storyblok space
To add the hook URL to your Storyblok space so your new content will be deployed when you click publish or unpublish.
Open the space you want to configure the hook for and navigate to the settings section of the space:
Under Settings > Webhooks.
 Paste the copied hook URL in the input field and you should see a toast indicating you’ve successfully added the URL.
Now you can publish new content or unpublish existing content on your Storyblok space to test. When you go back to your Netlify site’s deploys section, you should see a build in process.
 A payload in JSON format is sent with the
 POST request from Storyblok, this can be accessed during build on Netlify as an environment variable INCOMING_HOOK_BODY
To know more about the nature of the payload, check out How to use Storyblok webhooks in the documentation.